A pokeball is certainly no exception either, so many of us out there love pokemon, so what better way to show our love than to make a tiny pokeball?
I'll even show you how to attach the pokeball to a keychain to make it portable so you can catch 'em all on the go!
Not a miniature enthusiast? That's ok! You can follow this pattern with regular yarn and any size hook-a win for all!
If you like, you can also take a peek at the video tutorial I made for this pattern on my YouTube channel. Click the link to the left →
Or click this link ↓
Materials:
-1.50 mm crochet hook
-1.50 mm crochet hook
-red embroidery thread (DMC 817)
-black embroidery thread ( I used DMC 310)
-white embroidery thread (DMC blanc)
-scissors
-fiber fill
-tapestry needle
Optional:
-stitch marker (I use a little gold safety pin)
-a stick for stuffing (I use a chopstick)
-keychain (you can usually find these at a craft store)
-white embroidery thread (DMC blanc)
-scissors
-fiber fill
-tapestry needle
Optional:
-stitch marker (I use a little gold safety pin)
-a stick for stuffing (I use a chopstick)
-keychain (you can usually find these at a craft store)
Abbreviations:
RND round
sc single crochet
ch chain
inc increase
st stitch
dec decrease (sc dec single crochet decrease)
RND round
sc single crochet
ch chain
inc increase
st stitch
dec decrease (sc dec single crochet decrease)
BLO back loops only
** repeat around
** repeat around
Pattern:
Pokeball Body
Starting at the top of the pokeball with your red color.
(RND 1) 6 sc in magic ring (6)
(RND 2) *2 sc inc, sc in next st* (9)
(RND 3) *2 sc inc, sc in next 2 st* (12)
(RND 4) *2 sc inc, sc in next 3 st* (15)
(RND 3) *2 sc inc, sc in next 2 st* (12)
(RND 4) *2 sc inc, sc in next 3 st* (15)
(RND 5) sc in each st around (15)
Switch to your black color, you don't have to worry about making a seamless color change either. We will be covering up the mismatched stitch rounds with the release latch of the pokeball, so just continue crocheting around with your new color. 😃
(RND 6) sc in each st around (15)
Switch to your white color.
(RND 7) sc in each st around (15)
(RND 8) *dec, sc in next 2 st* (12)
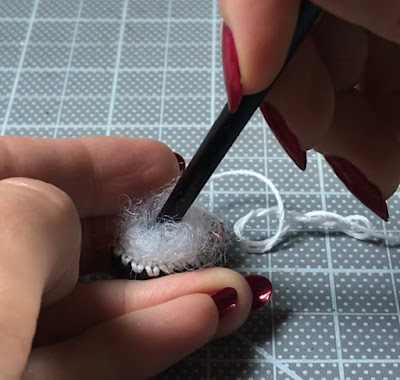
Stuff all thread ends inside and proceed to begin stuffing the pokeball with small amounts of polyester fiber fill.
(RND 9) *dec, sc in next st* (9)
Stuff more if needed.
(RND 10) Work in BLO and dec around until the pokeball is closed
With your tapestry needle, fasten off the white thread end. Be careful to only work in and out of the holes in between the stitches of the shape.
Release Latch
With your white color,
sc 3 in magic ring, close the ring and sl in the next stitch (completing a circular shape). You can push the middle through the stiches in order to flatten the shape more.
Switch to your black color,
2 sc inc around for a total of 6 black stitches. sl to close the circle.
Be sure to cut a rather long tail of the black thread so you can sew the latch to the body of the pokeball.
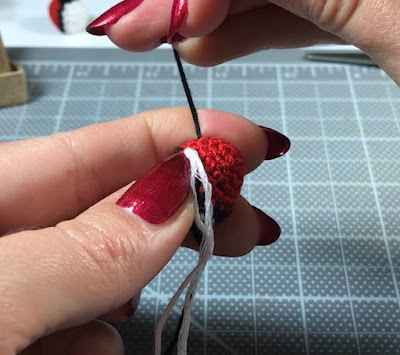
Find the spot on the ball that looks a little uneven from where you joined the colors and sew the non-working thread ends (there should be 2 white and 1 black) start in that spot through to the back of the ball, being careful to again, sew in and out of the holes in between the stitches of the shape.
I like to put all 3 of my non-working thread ends through the eye of my tapestry needle and sew them all through together. There is also no need to tie them in a know on the other side, there are just a loose anchor for now.
Next, thread your long black thread end and begin sewing the latch to the pokeball. Weave in and out of the 6 stitches of the latch and sew through the pokeball. It is not critical to sew in and out of the holes here, just through the top surface anywhere near the latch will do.
Fasten off, being careful to sew in and out of the holes in between the stitches.
If you want to attach a keychain then you can just attach it to the pokeball with some pliers that you might use to make jewelry, or you can try my way:
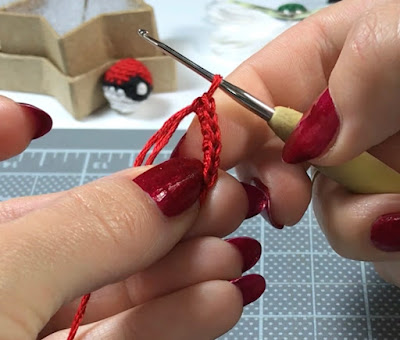
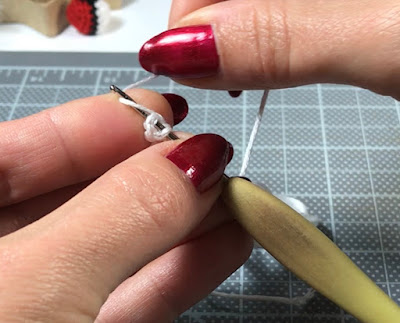
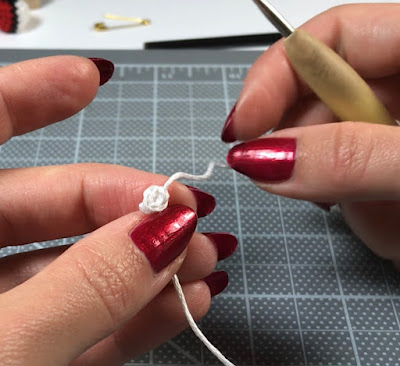
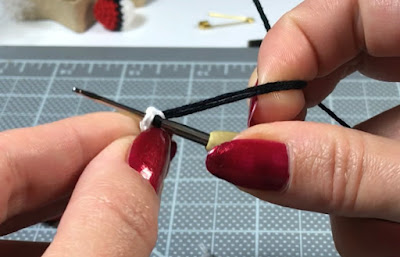
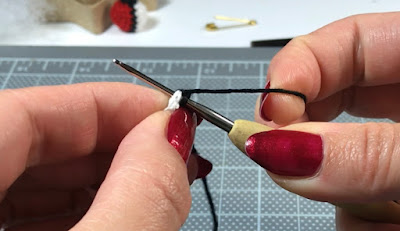
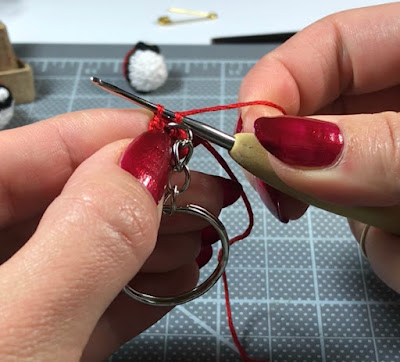
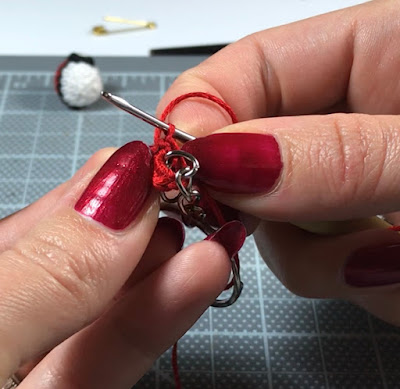
With your red color 6 sc in a magic ring in RND 1 and before you go to close the magic ring, insert one of the metal loops of the keychain and close the magic ring around the metal loop.
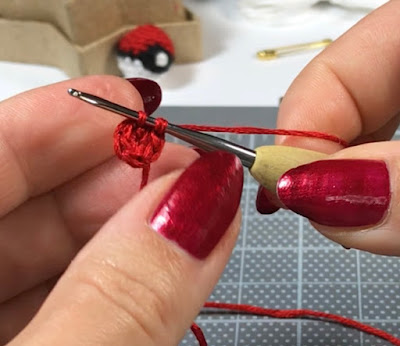
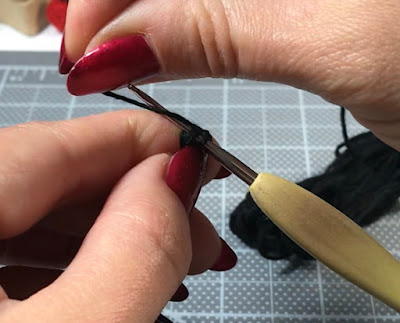
Proceed to crochet around the keychain link and the pokeball will take shape around the keychain. You can even use the non-working red thread end that is hidden inside to tie a knot around the metal loop of the keychain to secure it even more.
See pictures below for more clear instruction: 👍
Starting at the top of the pokeball with your red color.
(RND 1) 6 sc in magic ring (6)
 |
Keep going until you have 9 stitches.

(RND 3) *2 sc inc, sc in next 2 st* (12)
(RND 4) *2 sc inc, sc in next 3 st* (15)
(RND 4) *2 sc inc, sc in next 3 st* (15)
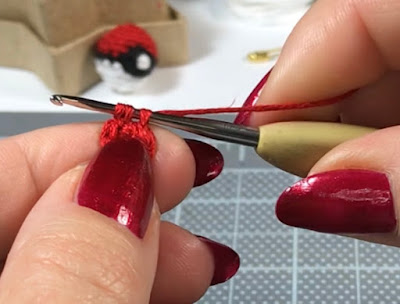
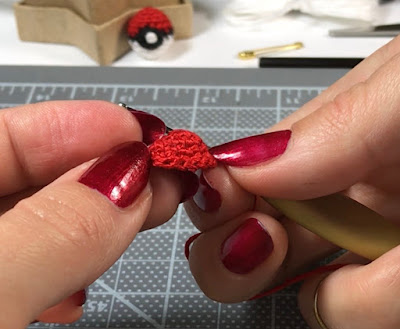
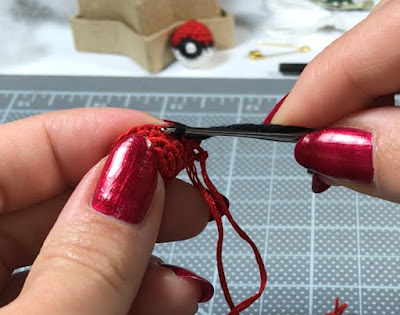
Keep going until you have 15 stitches. You can decide if you would like a stitch marker for the next round.
(RND 5) sc in each st around (15)
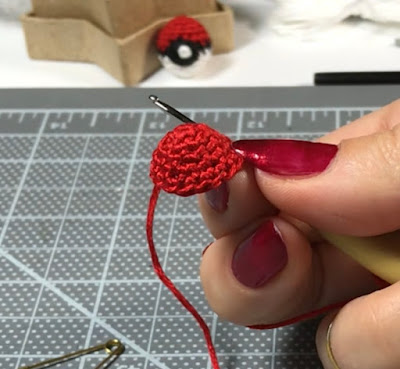
Cut the working thread end.
Tighten the thread you just cut by giving it a little tug.
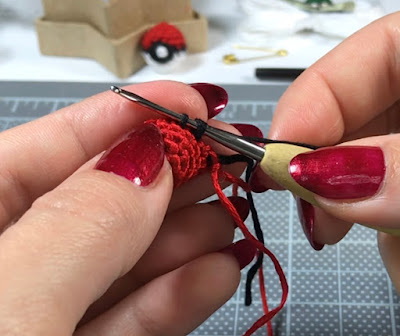
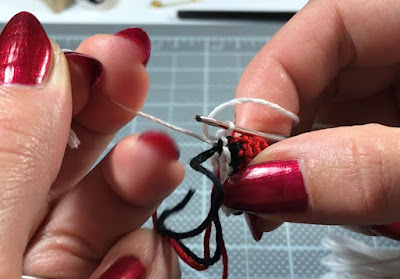
Insert your hook into the next stitch and attach your black color.
(RND 6) sc in each st around (15)
Continue all the way around. You can tug on the red thread end to tighten the stitch if it came a little loose before you complete your last stitch with the black thread.
Cut your black working thread end.
Give all your thread ends little tugs to tighten the stitches in this area.
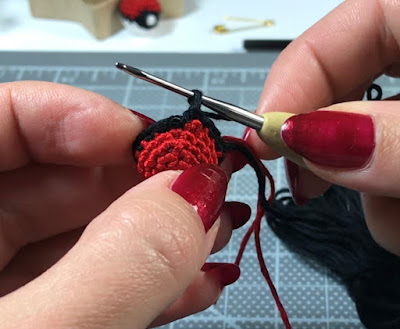
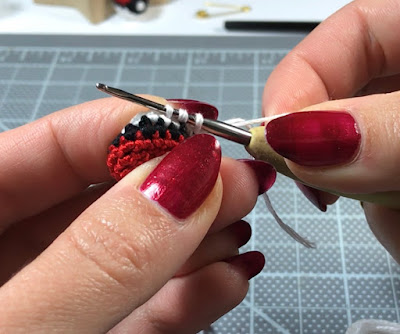
Continue around by attaching your white color into the next stitch.
(RND 7) sc in each st around (15)
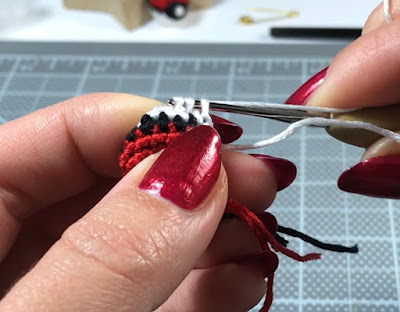
Continue crocheting around.
Give the black non-working thread end a tug if it needs it so you can complete the round.
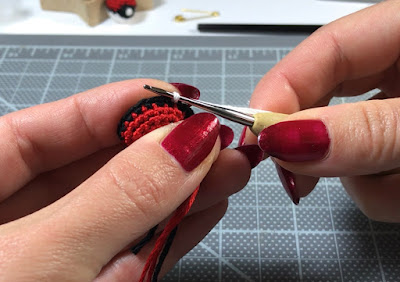
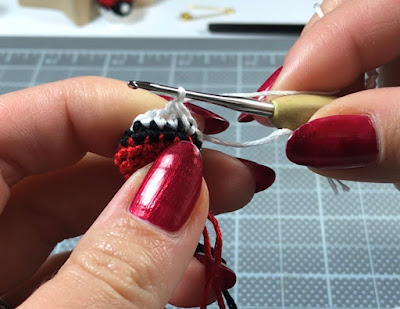
(RND 8) *dec, sc in next 2 st* (12)
I like to take a moment here to tuck all my non-working thread ends inside. You could also add some stuffing too if you like.
(RND 9) *dec, sc in next st* (9)
Add more stuffing until the shape is pretty firm.
(RND 10) Work in BLO and dec around until the pokeball is closed
Once closed, cut the working thread end.
With your tapestry needle, fasten off the white thread end. Be careful to only work in and out of the holes in between the stitches of the shape.
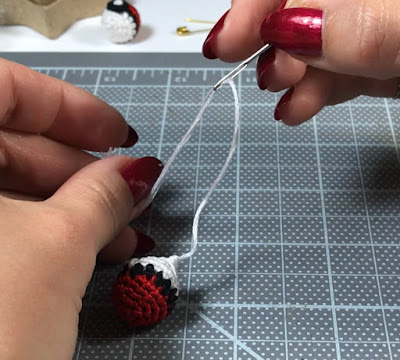
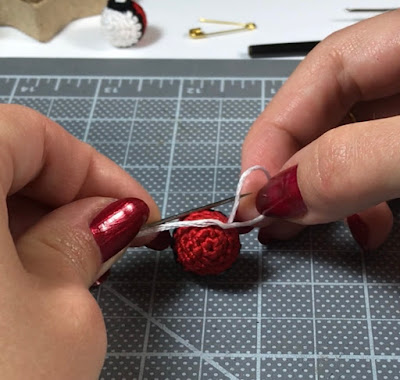
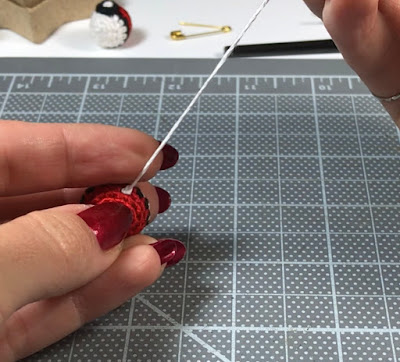
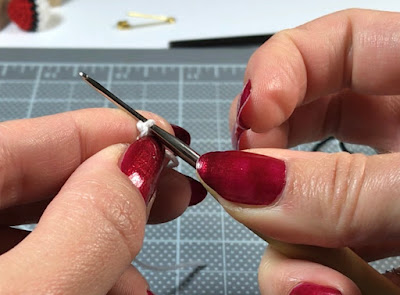
Tie a knot on the other side. Re-insert needle into same hole and pull through another hole on the other side of the pokeball. Tug just enough to pull the know into the pokeball, securing the thread and hiding the knot.
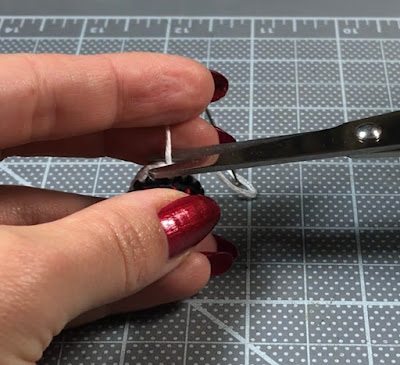
Cut the thread end.
Squish the ball here and there to give it a more round shape.
Release Latch
With your white color,
sc 3 in magic ring
Close the ring and sl in the next stitch (completing a circular shape)
You can push the middle through the stiches in order to flatten the shape more.
Cut working thread end.
Switch to your black color,
2 sc inc around for a total of 6 black stitches.
Keep going all the way around and it should start to look something like this:
sl to close the circle
Be sure to cut a rather long tail of the black thread so you can sew the latch to the body of the pokeball.
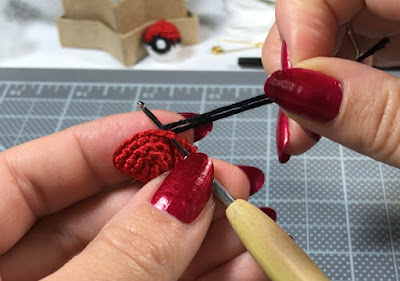
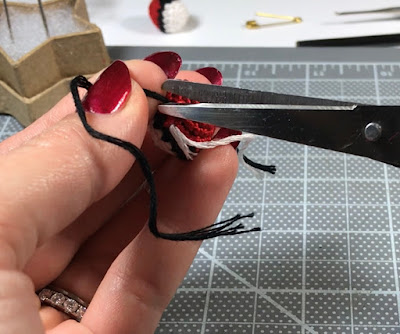
Find your non-working thread ends (there should be 2 white and 1 black) and you can cut them all to make their ends even so it is easear to thread them all together through your tapestry needle.
Find the spot on the ball that looks a little uneven from where you joined the colors and start in that spot through to the back of the ball, being careful to again, sew in and out of the holes in between the stitches of the shape.
I like to put all 3 of my non-working thread ends through the eye of my tapestry needle and sew them all through together. There is also no need to tie them in a know on the other side, there are just a loose anchor for now.
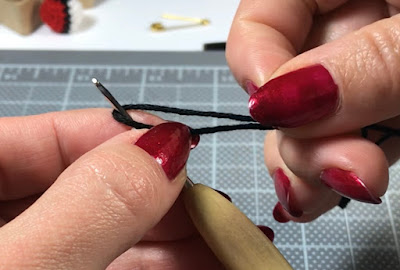
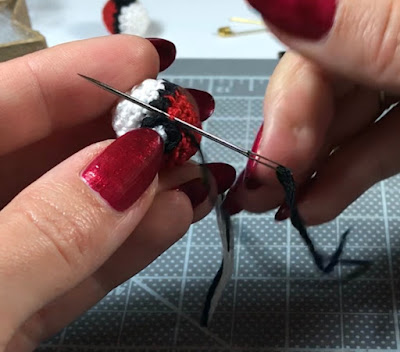
Next, thread your long black thread end and begin sewing the latch to the pokeball.
Weave in and out of the 6 stitches of the latch and sew through the pokeball.
It is not critical to sew in and out of the holes here, just through the top surface anywhere near the latch will do.
Fasten off, being careful to sew in and out of the holes in between the stitches.
Tie a knot, re-insert needle into same hole and pull through another hole on the other side of the pokeball. Tug just enough to pull the know into the pokeball, securing the thread and hiding the knot.
Cut off all the thread ends and you should be ready to catch some Pokemon!
Give little squishes here and there to perfect the round shape of the pokeball.
If you want to attach a keychain then you can just attach it to the pokeball with some pliers that you might use to make jewelry, or you can try my way:
With your red color 6 sc in a magic ring in RND 1 and before you go to close the magic ring, insert one of the metal loops of the keychain and close the magic ring around the metal loop.
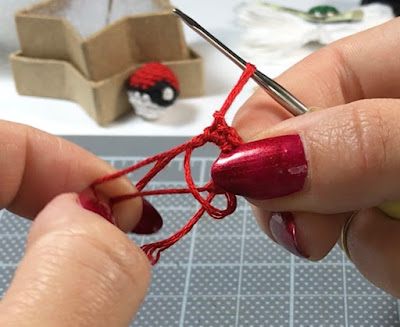
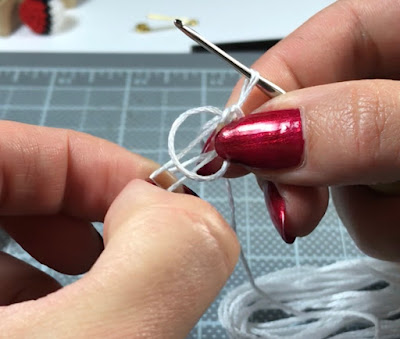
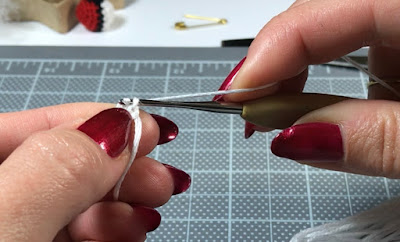
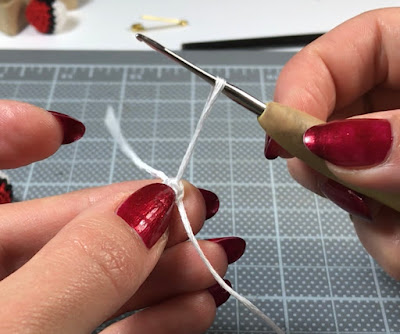
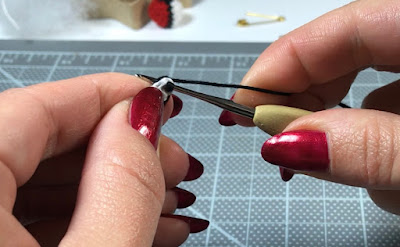
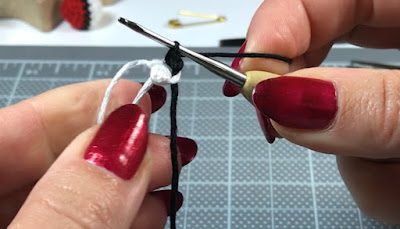
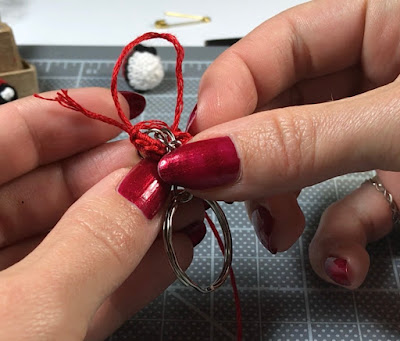
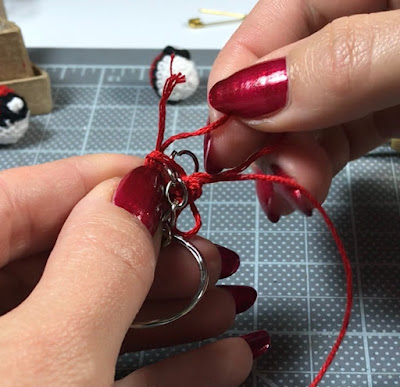
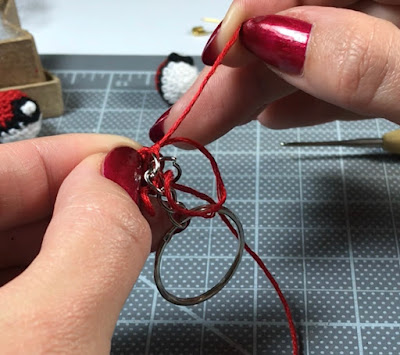
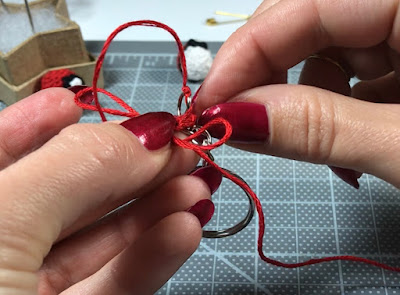
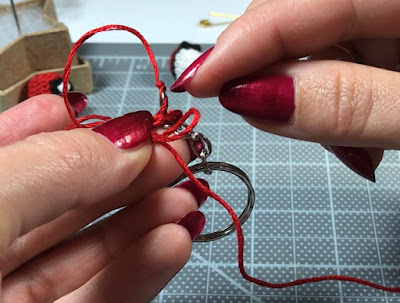
You can even use the non-working red thread end that is hidden inside to tie a knot around the metal loop of the keychain to secure it even more.
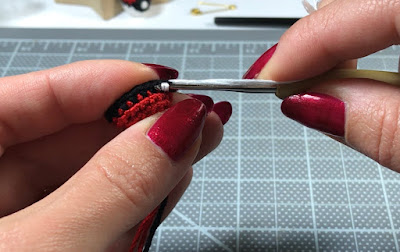
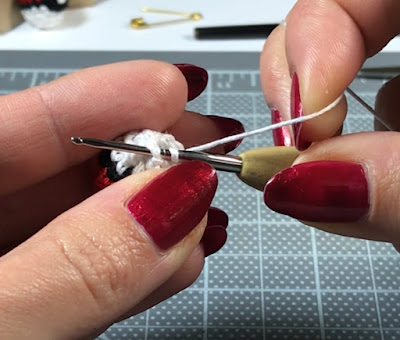
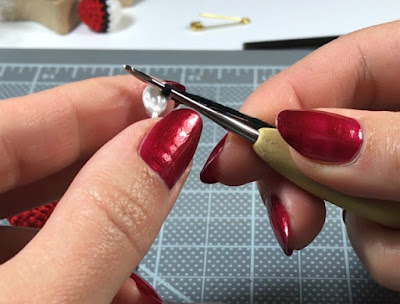
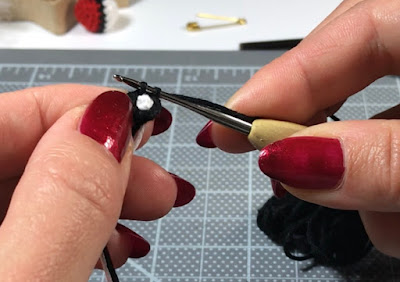
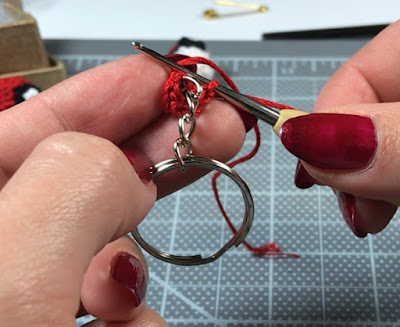
Insert hook through metal circle
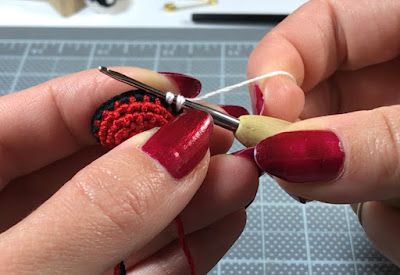
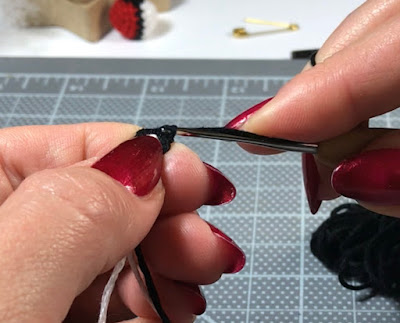
Pull non-working thread through
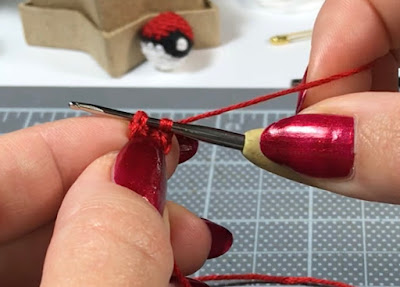
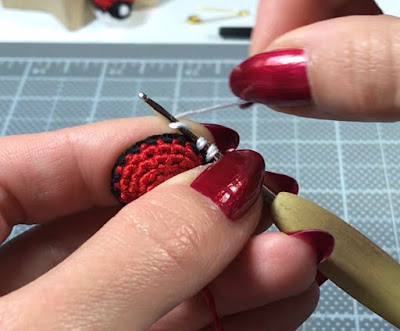
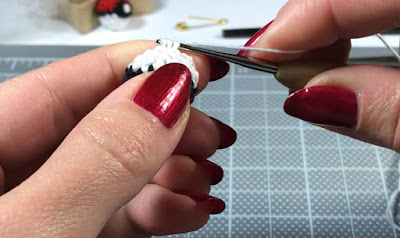
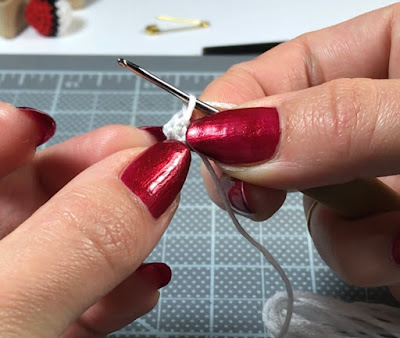
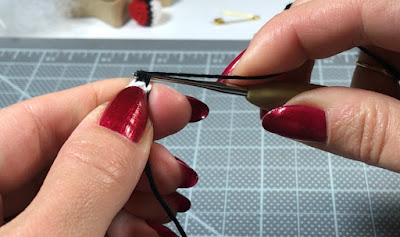
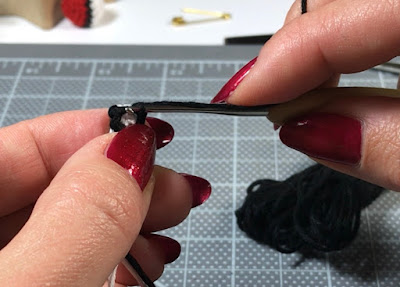
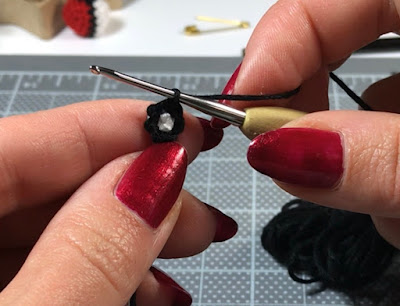
Thread over and pull through the loop on your hook securing the thread to the keychain loop.
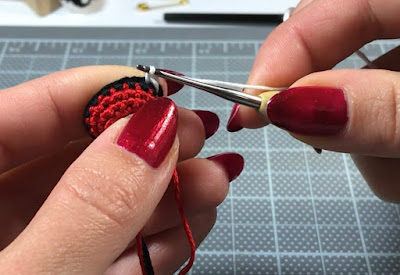
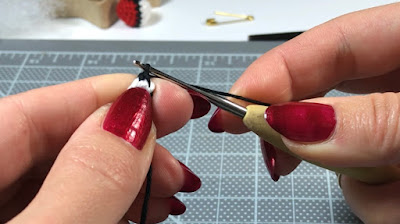
Tie another regular knot for extra security.
Proceed to crochet around the keychain link and the pokeball will take shape around the keychain.
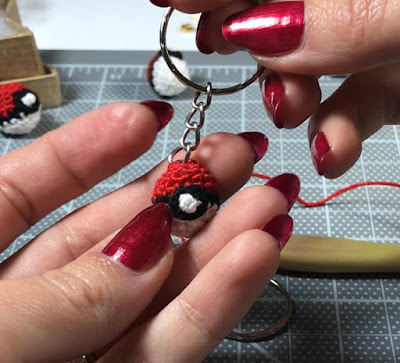
Ta-da! A miniature pokeball keychain-or a regular sized pokeball depending on the hook size you used!
Please share your Pokeball with me!
Teeny Tiny Pokeballs are cute, but stealing is not!
Please be sure to give credit where credit is due when sharing.
No selling of this pattern in any form is permitted.
©Alexandria Gold 2019

































































No comments:
Post a Comment